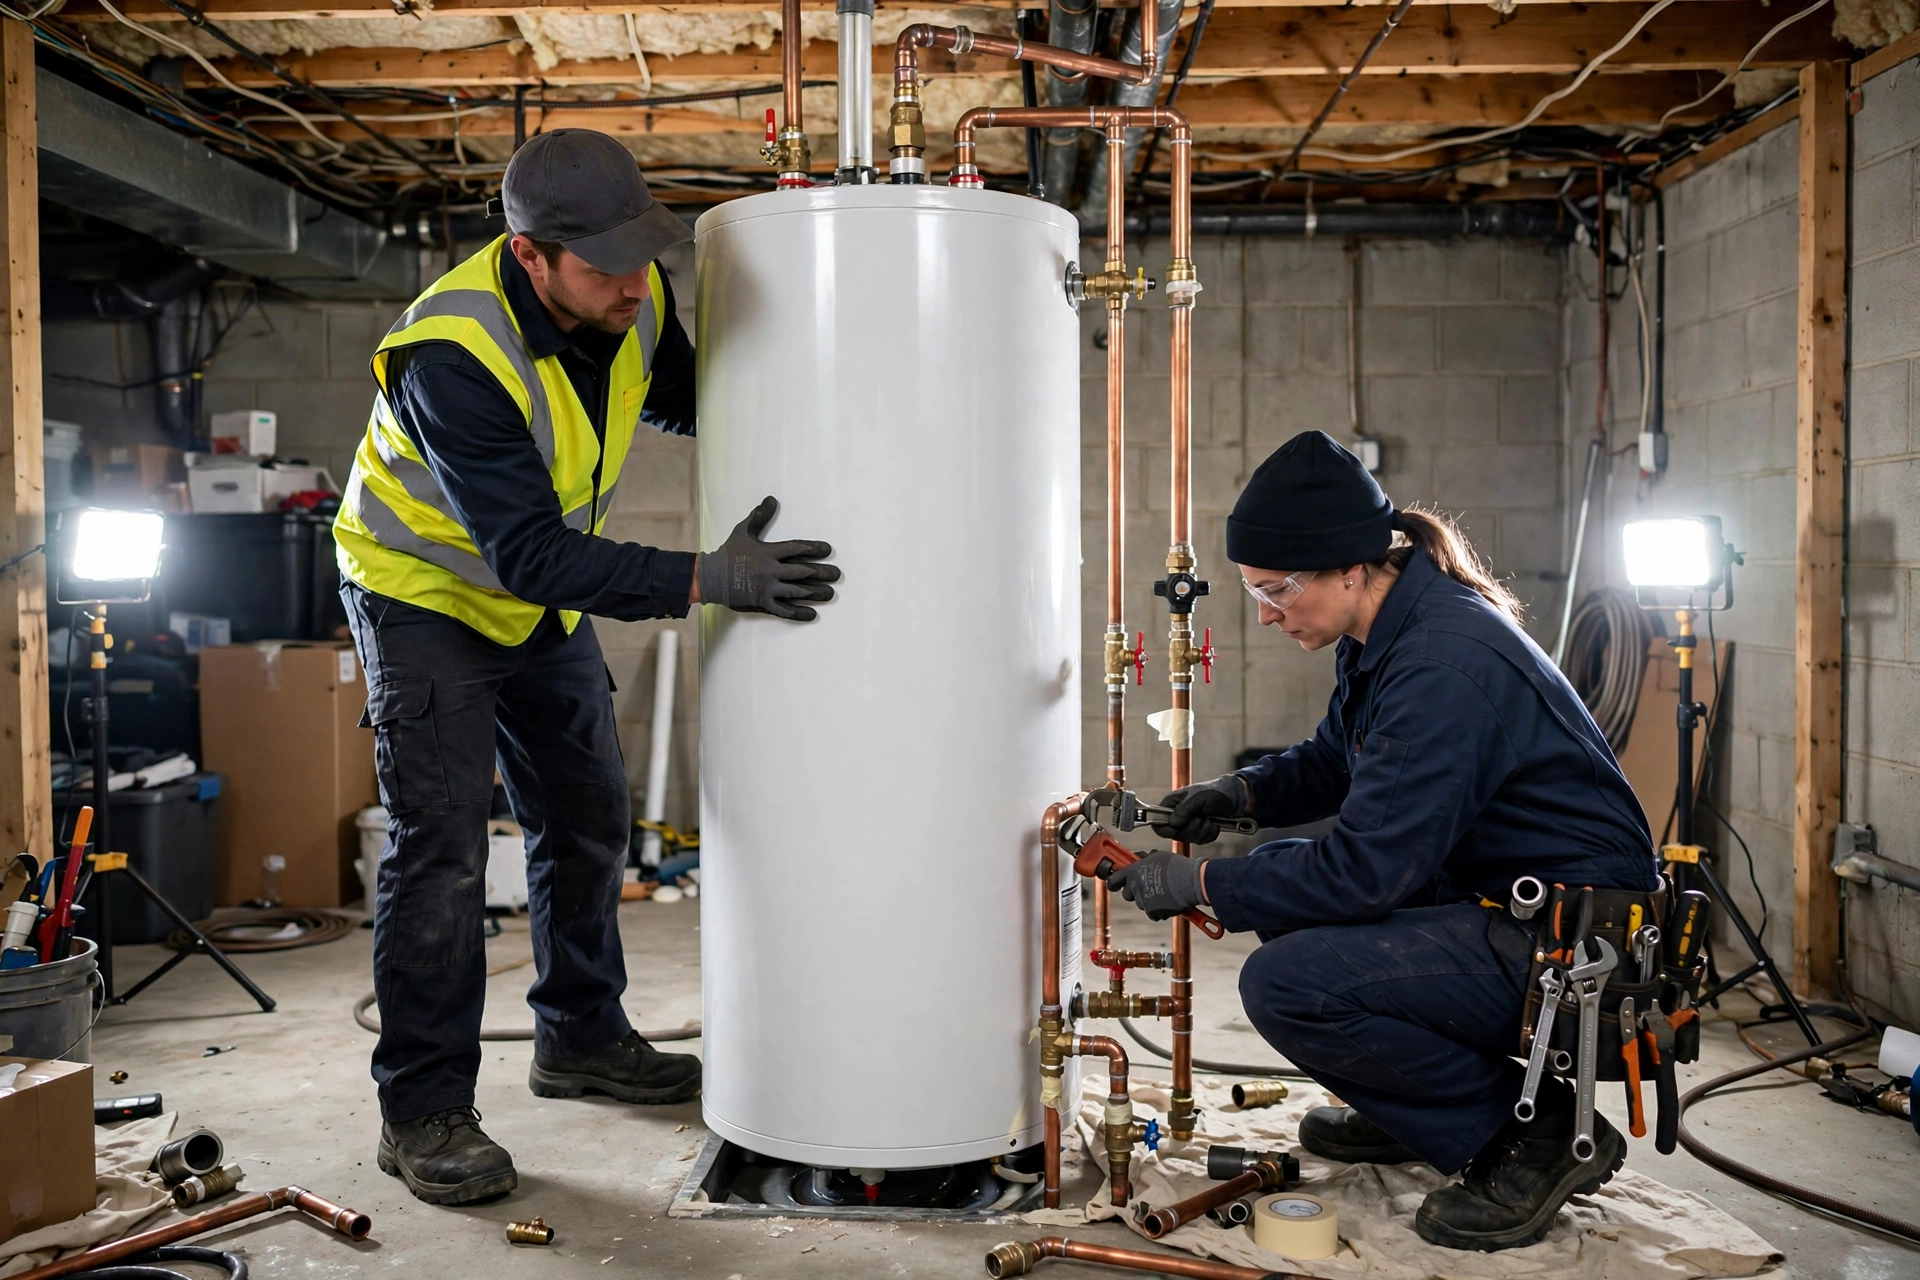
A water heater drain pan is a shallow metal or plastic tray the heater sits in, with a drain line running to a safe discharge point. Its entire job is catching slow leaks before they become flooring, drywall, and mold disasters. It's cheap insurance — and in many places, it's code.
Most codes require a pan when a leak would cause damage — which in practice means heaters located over finished space: upstairs closets, laundry rooms over living areas, attic installations, or anywhere above a finished ceiling. Heaters in unfinished basements with floor drains nearby are often exempt, but "exempt" and "wise" aren't the same thing.
The modern move is pairing the pan with a water-leak sensor — a small puck that sits in the pan and screams (or texts you, with smart models) at the first sign of water. For heaters over living space, this combination catches leaks in minutes instead of the days or weeks a slow weep can otherwise go unnoticed. Some sensors even pair with automatic shutoff valves.
It's doable but fiddly — the heater must be disconnected and lifted, which usually means draining it. That's why the smart time to add a pan is during any planned service: a valve replacement, an element job, or especially a full heater replacement. If we're already draining your tank for maintenance, adding a pan is a small incremental cost for major protection.
Drain pans come in plastic and metal (aluminum or steel). Plastic pans are inexpensive and won't corrode, but can become brittle over time. Metal pans are more durable but can corrode if water sits in them. For most applications, a high-quality plastic pan is sufficient and cost-effective.
Size the pan to extend at least 2 inches beyond the water heater's diameter on all sides. Standard residential water heaters (40-50 gallon) typically need a 24-26 inch diameter pan. The pan should be at least 2 inches deep to contain minor leaks effectively.
Ensure the pan has a drain fitting (usually 1-inch PVC connection). Pans without drains merely delay water damage — they contain the leak temporarily but will eventually overflow. A properly drained pan directs water to a floor drain, sump pit, or exterior.
Installing a pan under an existing water heater requires disconnecting and lifting the unit — a job best done during water heater replacement. The pan is positioned, the water heater is set inside it, and the drain line is connected to the pan's fitting.
The drain line should slope downward continuously to its termination point (no uphill sections or traps that could clog). Use 1-inch PVC or similar approved material. The termination should be visible — into a floor drain, laundry sink, or outside where you'll notice water flowing. A hidden termination defeats the purpose of early leak detection.
For new installations, the pan goes in before the water heater. This is the ideal time to ensure proper positioning, adequate drain slope, and compliance with local code requirements. Many jurisdictions now mandate drain pans for water heaters in attics, above living spaces, or where leaks could cause significant damage.
Inspect the pan annually for cracks, warping, or corrosion. Ensure the drain line is clear by pouring a cup of water into the pan and verifying it drains properly. Check that the termination point isn't blocked by debris, landscaping, or stored items.
Consider adding a water alarm in the pan ($15-30). These battery-powered devices sound an audible alarm when they detect water, alerting you to leaks before significant damage occurs. For remote monitoring, WiFi-connected sensors send alerts to your phone.
Remember: a drain pan is a damage mitigation device, not a leak prevention device. It won't stop leaks, but it will channel water to a safe location and (with an alarm) alert you promptly. Regular water heater maintenance remains essential.
Any water heater problem involving leaks, unusual sounds, or inconsistent hot water warrants prompt attention. Small issues become major failures if ignored. When in doubt, have a professional assess the situation.
Basic maintenance like flushing and visual inspections are DIY-friendly. Repairs involving gas, 240-volt electricity, or the tank itself should be left to licensed professionals for safety and code compliance.
Annual professional maintenance, regular DIY inspections, prompt attention to minor issues, and following manufacturer recommendations are the best prevention. Keep records of all maintenance performed.
